Waxing at Home – Step-by-Step Guide: What to Buy and How to Perform the Procedure
Blog BackTable of Contents:
Waxing is a popular method for smooth skin, providing long-lasting results, often up to three weeks. While a professional waxing session in a beauty salon is always the safest option, many people choose to wax at home. Here’s a complete guide on how to prepare, what to buy, and what to focus on to achieve salon-like results.
What to Buy for At-Home Waxing?
1. Wax Heater – Essential for evenly heating the wax to ensure the right consistency and safe application.
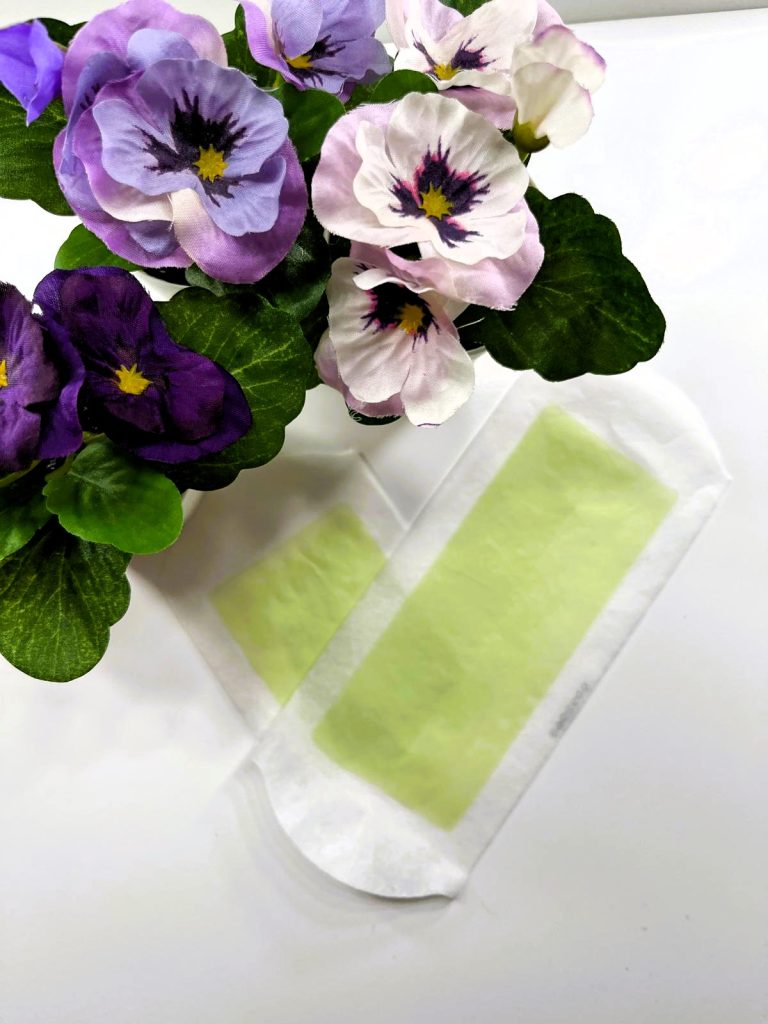
2. Wax (Soft or Hard) – Choose based on personal preference and skin type. Soft wax requires additional fabric strips, while hard wax hardens on the skin and can be removed without strips.
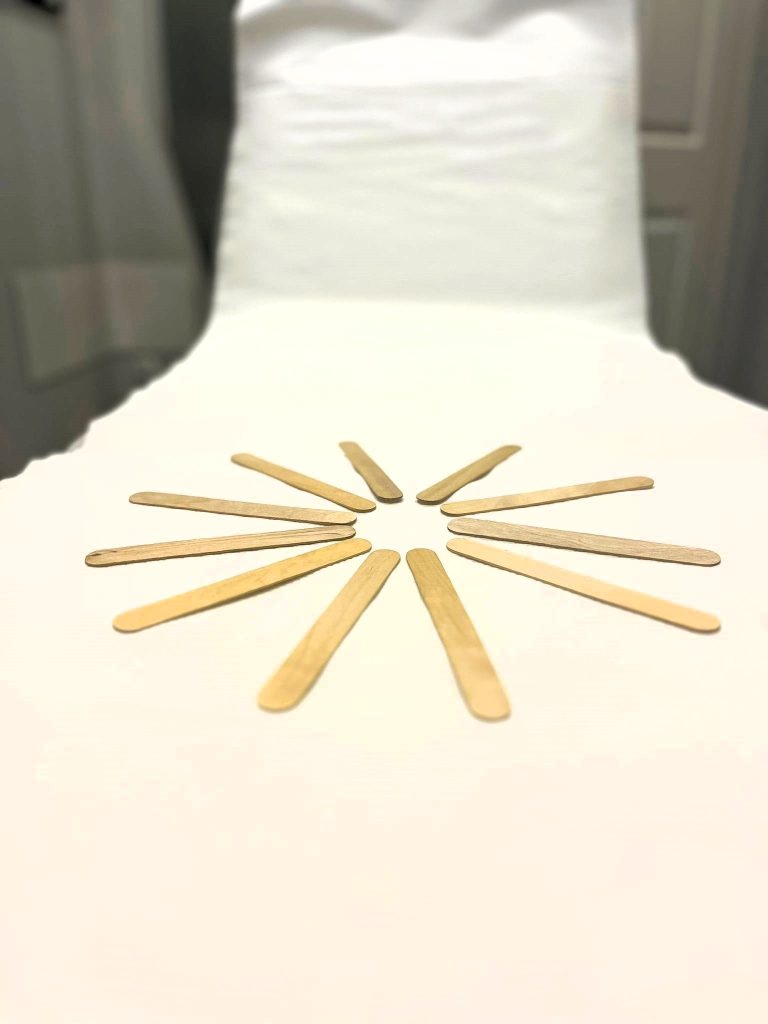
3. Wooden Spatulas – Used for applying wax to the skin; narrow spatulas work well for precise areas, while wider ones are best for larger sections.
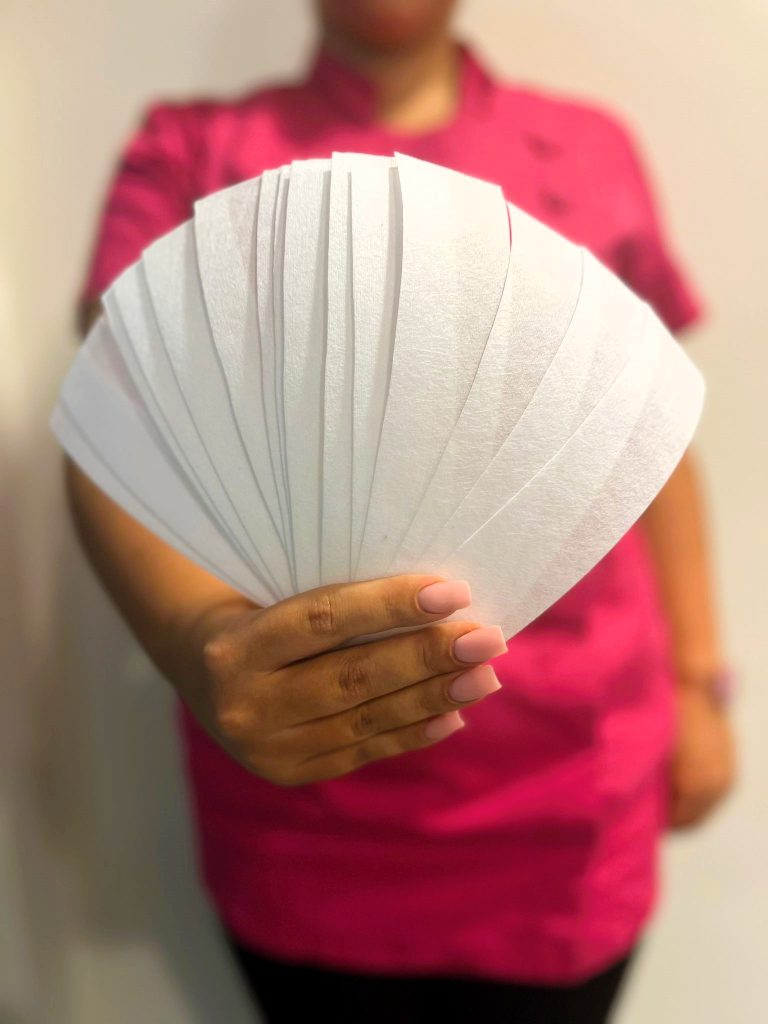
4. Fabric Strips – Necessary for removing soft wax.
5. Post-Waxing Oil – Helps remove any leftover wax and soothes the skin.
6. Soothing Product (like aloe gel) – Useful after the procedure to moisturize and reduce redness.
7. Cosmetic Pads and Work Area Protection – Protect clothing, towels, and surfaces from wax stains to avoid difficult clean-up afterward.
Step-by-Step Guide to Waxing at Home
Step 1: Prepare the Wax and Work Area
Start by choosing a comfortable spot for the procedure and securing it against any potential spills. Set up the wax heater on a stable surface and warm the wax, monitoring the temperature to prevent burns. The wax should be warm but not too hot; an ideal consistency is like thick, runny honey.
Step 2: Applying the Wax
Using a wooden spatula, scoop a small amount of wax and apply it to the skin in the direction of hair growth. Apply a thin, even layer, and wait a few seconds for the wax to slightly set.
Step 3: Adding the Strip or Preparing for Removal
For soft wax, press a fabric strip over the waxed area, ensuring it adheres well. If you’re using hard wax, wait a bit longer until it hardens on the skin.
Step 4: Removing the Wax
This is the crucial step! Hold the skin taut and, in one quick motion, pull the strip or wax off in the opposite direction of hair growth. Stretching the skin in the opposite direction of the pull will reduce discomfort and allow for a smoother pull, making the waxing less painful.
Step 5: Cleaning Up Residual Wax
After finishing, use post-waxing oil to remove any wax residue from the skin. Apply a soothing product, such as aloe gel or a post-waxing cream, to help reduce irritation and redness.
Pros and Cons of At-Home Waxing
Waxing at home is convenient, allowing you to perform the procedure whenever it’s best for you, and it can be more economical than regular salon visits. However, doing the procedure on yourself can be more challenging and painful than a professional treatment. Keep in mind that incorrect wax temperature or removal technique can lead to skin irritation or even burn