How to Perform Eyelash Lamination at Home Step by Step?
Blog BackTable of Contents:
- What Is Eyelash Lamination, and Why Is It Worth It?
- What Do You Need for Eyelash Lamination at Home?
- Step-by-Step Guide to Eyelash Lamination at Home
- Tips for Success
- Is It Worth Doing Eyelash Lamination at Home?
Eyelash lamination has become one of the most popular beauty treatments in recent years. No wonder – the natural look, strengthened lashes, and the convenience of skipping daily mascara application are a dream come true for many of us. But can you perform eyelash lamination at home? The answer is: yes, as long as you follow the correct steps and use safe products. Here’s a comprehensive guide to help you through the process.
What Is Eyelash Lamination, and Why Is It Worth It?
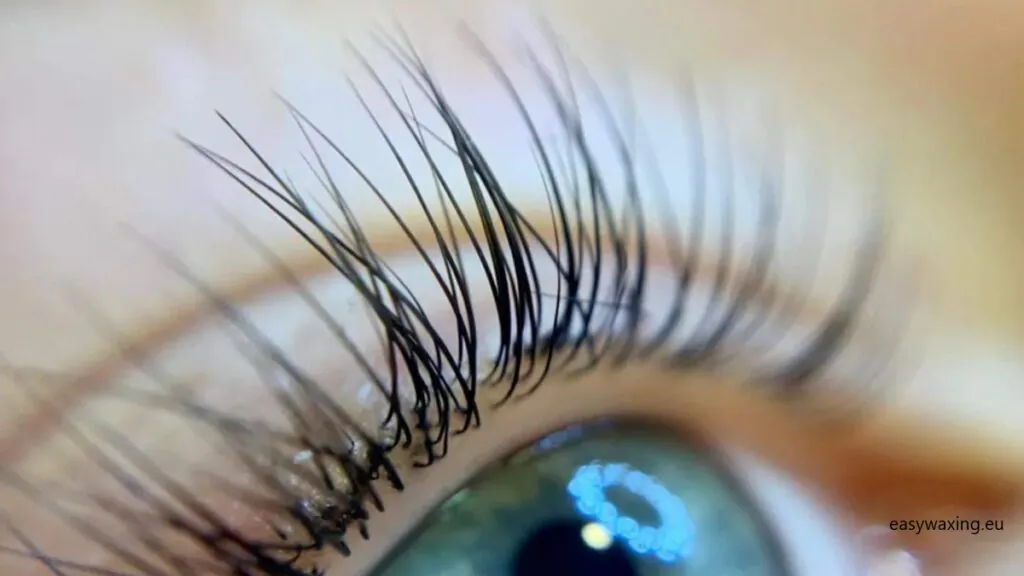
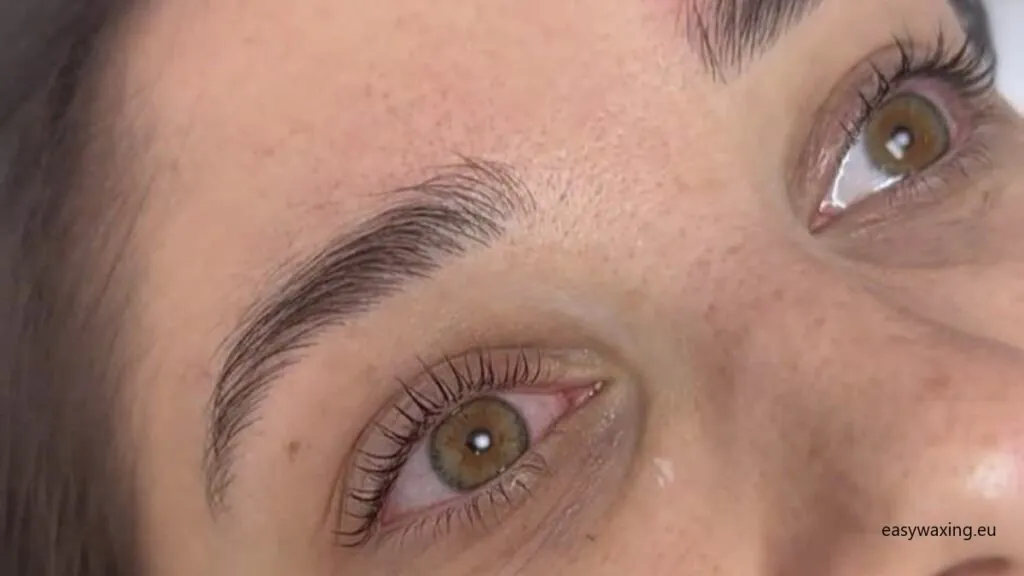
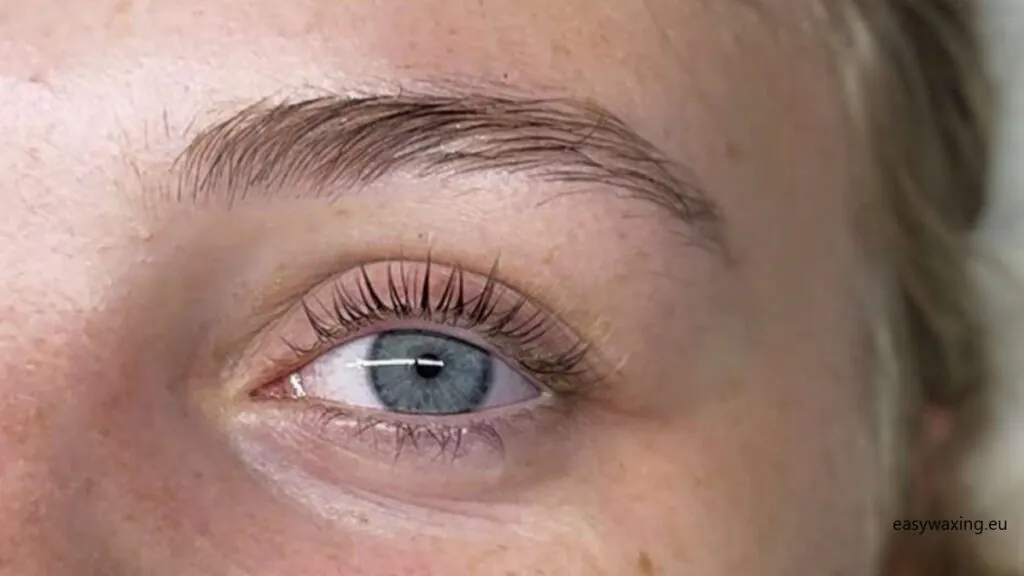
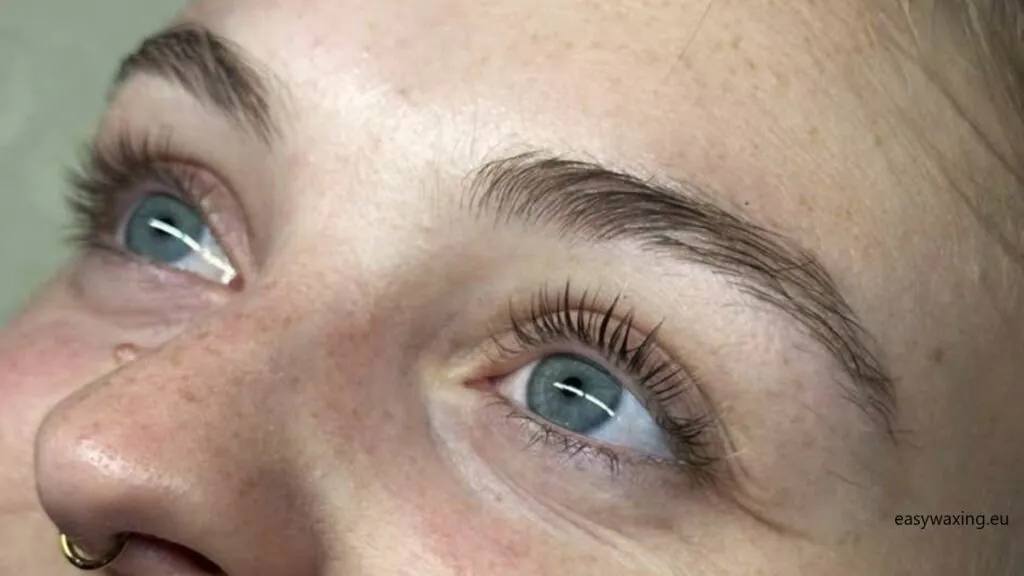
Lamination is a beauty treatment that curls, strengthens, and nourishes your natural lashes. The result is beautifully lifted lashes that appear thicker and darker. With the right technique, you can achieve salon-like results at home, although it requires a bit of patience.
Still wondering if lamination is right for you? If you enjoy a natural look and want to save time on your morning routine, this treatment is worth a try. Personally, I love the feeling of enjoying stunning lashes without the need for mascara. What about you? Have you tried eyelash lamination before?
What Do You Need for Eyelash Lamination at Home?
Before starting, make sure you have a complete eyelash lamination kit, which usually includes:
- Under-eye pads – Protect lower lashes and the delicate skin around your eyes.
- Eyelash glue – Helps attach lashes to silicone pads.
- Silicone pads – Shape the curl of your lashes.
- Lifting and lamination solutions – The kit will typically include several bottles for different steps: lifting, setting, and nourishing (keratin conditioner).
- Tweezers and a brush – To separate and position lashes.
Make sure to choose a product from a trusted brand. Popular and well-reviewed options can be found online, but always check the ingredients and safety certifications.
Step-by-Step Guide to Eyelash Lamination at Home
1. Prepare Your Lashes
Start by thoroughly cleaning your lashes. Use a gentle makeup remover, then wipe them with micellar water to remove any residual oils and dirt.
2. Apply Silicone Pads
Attach the silicone pads to your upper eyelids using eyelash glue. Silicone pads come in various sizes: larger ones for a natural curl, smaller ones for a more dramatic lift. Ensure they are securely in place and won’t shift during the procedure.
3. Position Your Lashes
Use a brush to carefully separate your lashes and stick them to the silicone pads. This step is crucial for achieving a well-defined curl. Apply a small amount of glue to the pads and use the brush or comb to attach your lashes, making sure they’re straight and not twisted.
4. Apply the Solutions
Apply each solution according to the instructions on the kit packaging. Start with the lifting solution, followed by the setting solution, and finally the nourishing conditioner. Adhere to the recommended application times:
- Apply a small amount of the lifting solution to the middle section of your lashes (avoid roots and tips). Cover your lashes with plastic wrap or the foil provided in the kit and let it sit for the specified time, usually 8–12 minutes, depending on lash thickness.
5. Remove Pads and Clean
Once all steps are complete, gently remove the silicone pads and clean your lashes using a cotton swab or dry pad with micellar water. Avoid tugging on the lashes. Do not wet your lashes for 24 hours, and refrain from using mascara or oils during this time.
Tips for Success
- Timing Is Key: Never leave solutions on longer than recommended by the manufacturer.
- Maintain Hygiene: Keep all tools clean to prevent infections.
- Test for Allergies: If you’re unsure, perform a patch test on a small area of skin.
Is It Worth Doing Eyelash Lamination at Home?
At-home lamination is a great option for those who want to save time and money. However, it requires precision and care. For me, it has been a game-changer – the results last for several weeks, and my morning routine has become much simpler.
What about you? Have you tried eyelash lamination at home? Share your tips and experiences in the comments below!